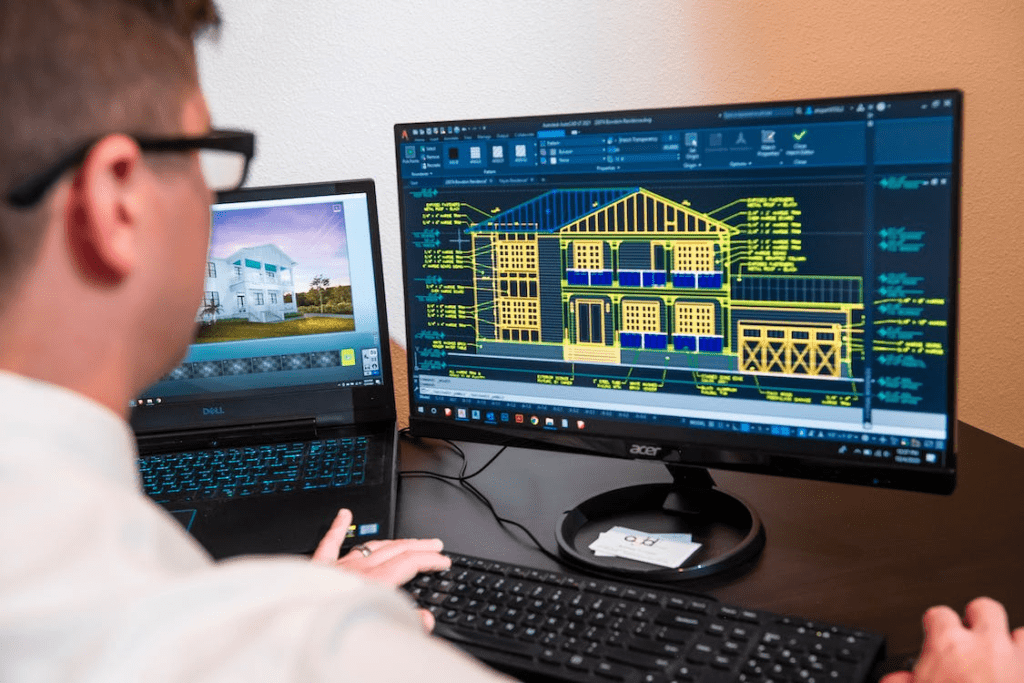
To define AutoCAD, you can say that it is a type of CAD software that enables you to draw and create 2D or 3D modeling. Allowing you to create and modify geometric models with nearly infinite potential facilitates the development of all sorts of objects and structures. Because of its versatility, AutoCAD has expanded beyond its typical application in engineering and architecture to include graphic and interior design.
At the moment, AutoCAD offers a wide range of specialized auxiliary tools that cover all industrial disciplines connected to 2D design and 3D modeling. Therefore, you only want single cutting lines when using AutoCAD for laser cutting. Otherwise, it will cut the lines several times, which is bad for the machine and your material. Do you want to eliminate any extra lines from your AutoCAD drawing? Check out these five straightforward steps to learn how to accomplish it.
1. PURGE and Overkill
They are likely the initial instructions for which most drafting technicians employ AutoCAD delete duplicate lines options. Purging the drawing removes any unnecessary or unwanted entities from your drawing, including blocks, layers, line types, and so on.
When you input the command PURGE and press Enter, it will open up a new purge window. To delete any unnecessary items from your drawing, click on Purge All option in this window as many times as necessary.
Click the close button to shut the purge window after the drawing has been entirely cleaned up. Another similar cleanup tool is Overkill, which you can use to eliminate and combine all identical graphic entities.
When you input the command overkill and hit enter, the command line option will let you choose items from the drawing area. By entering ALL, one may select all the drawings in the Overkill application’s selection set. Once again, pressing enter, select OK to open the remove identical objects window.

2. Audit and Recover
Such instructions are typically helpful for fixing mistakes in AutoCAD drawings since a design with mistakes might unnecessarily balloon in size. On the command line, type AUDIT and hit Enter to clean up these types of drawings. The command line will then ask you if you wish to locate and correct any problems after detecting them. Type Y and hit Enter to fix all errors that you find.

The Recover command is useful when you find it difficult to open a severely corrupted file. To remedy these circumstances, open the type RECOVER, blank drawing, and press Enter. Next, locate the impacted drawing from the pick file window, and click Open. Finally, AutoCAD will try to recover the drawing by fixing all of its faults before opening it in the new session.
3. DGN PURGE
AutoCAD drawing files can occasionally grow overly large and contain what seems to be no data. Other problems caused by this mistake include a sluggish cursor while choosing annotations like dimensions and text, broken copy and paste functionality in AutoCAD, and a slow file opening time.
The problem also affects the unaffected files when you transfer the data from an impacted file to some unaffected file. Due to poor data import from the DGN files, which created a large drawing database, this problem first appears in a drawing.
For the 2014 version or older, Autodesk provided a solution for this problem; however, with the AutoCAD 2015 and the latest versions, DGN purge functionality became available in combination with the normal PURGE command.
As indicated in the figure above, click the Automatically purge orphaned data radio button in the purge window to delete this type of data from the AutoCAD 2015 and subsequent versions.
4. Write Block In AutoCAD
Although it may not look like a vital tool for cleaning up drawings, this one effectively removes unnecessary messes. Because it destroys drawing data, including layer assignments, this technique is helpful when you’ve no other way to clean your picture.
This command clears the workspace of all clutter and moves all drawing components to a new, empty template. Open the relevant drawing, enter WBLOCK, and click OK to use this function.
By doing this, the write block window will appear. From the source panel, choose the Objects radio button. Next, click the Pick Points button to enter base point information into the design. Once there, choose the drawing objects from the drawing area by clicking the select objects button in the objects window.
Although you can use the source panel’s Entire drawing radio option to include the drawing objects in the set, manual selection is preferable. This is because it prevents you from selecting any invisible drawing entities that are usually present in the drawing outside the work area. Select the destination for the exported drawing in the Destination panel, then click OK. Finally, you can save the cleaned-up drawing on the designated route.

5. Cleaning Unreferenced Regapps
When there are too many unreferenced Registered application IDs, the drawing appears bigger than usual, and performance problems occur. Enter PURGE on the command line to purge unreferenced Regapp Ids. When the command line asks you to input Regapp’s name, choose it from the list and click Enter. Press enter button again until all the unreferenced Regapps Ids have been removed.
Although you may use the -PURGE command to remove unreferenced Regapp Ids from a single drawing, doing so for several drawings quickly becomes laborious. In those situations, you may use the Regapp ID cleanup utility tool to clean up in batches of unreferenced Regapp Ids. Other things you can’t destroy with the usual PURGE command are empty text objects and zero-length geometry. You can clean them up using the -PURGE command.
Final Note
AutoCAD is among the most demanding applications that need a strong computer to operate and reach its full potential. Computers running Windows and Mac can use the app. So, finally, the ways mentioned above will help to remove the identical line in AutoCAD.


