
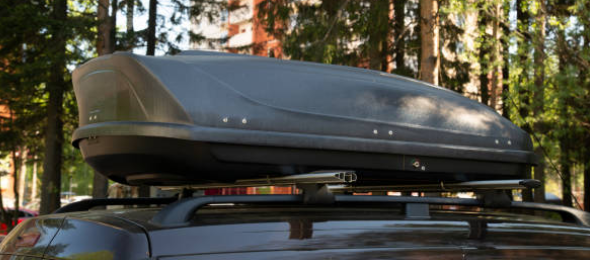
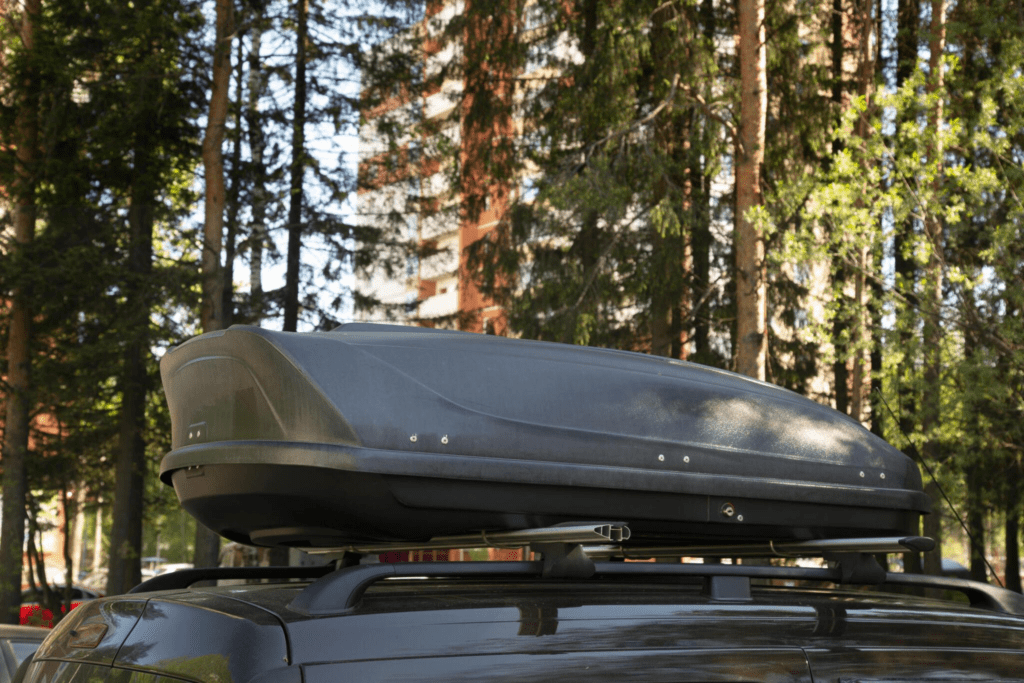
If you are about to start your adventure trip or drive to your favorite outdoor spot, there is always an easy, comfortable way to carry your luggage. Whether going with your friends or by yourself, a roof rack will add extra storage and carrying capacity for your car. It lets you pack everything you need for your trip without worrying about them fitting or leaving anything behind.
Besides protecting your gear from harsh weather, the roof rack improves fuel efficiency. Streamlined roof racks, among others, are designed to minimize drag and fuel consumption, reducing fuel spend. Therefore, installing a roof rack will go the extra mile in increasing the versatility and efficiency of your car.
When it comes to roof rack installation, the process varies depending on the roof rack style, size, type, and model of your car. However, in most cases, the installation process is similar. While it may seem challenging to install the roof rack, if your vehicle has flush rails, thirty minutes are enough to complete the entire process.
All you need is an Allen key and ladder to get a perfect roof view while mounting the crossbar. Here is an easy five steps process that will help you install a roof rack in your car.
1. Assess your Vehicle
Different cars require different roof racks. Therefore, the first step is determining available roof rack options perfect for your car. Since roof racks have different sizes and designs, choose one compatible with your car model. You can seek help from a reputable car dealer or automotive engineer to guide you on the best roof rack that will serve your needs to the maximum without causing strain on your car. Below are factors that you should consider when assessing your car.
- Payload- Payload is the maximum weight that your vehicle should carry. Before installing a rack roof, determine the optimal load capacity of your car’s roof by referring to the manual or contacting the manufacturer. Despite increasing the maintenance cost, exceeding your car’s load capacity will cause strain on the engine and brakes, quickening the wear and tear.
- Aerodynamics- Roof racks significantly affect the aerodynamics of your car. Consider selecting roof racks that minimize wind resistance and maximize your car’s fuel efficiency.
- Roofing- Car roofing has a huge impact on the installation process. Different roofs require particular roof rack accessories, such as crossbars and rails. Therefore, ensure you choose roof racks compatible with your car roofing to complete the installation process.
2. Clean and Assemble the Roof rack
After assessing your car and getting the right roof rack, wipe dust and remove debris from the roof. Always pay attention to the mounting points of the crossbars to ensure no residue is left behind. Apart from inhibiting the attachment point from lying flush, installing a roof rack on a dirty roof will make it hard to clean in future.
While some roof racks are always assembled, most have to be put together before mounting them on the roof. Ensure you gather all the roof rack accessories, including mounts, crossbars, Allen keys and hammers. Ensure you are familiar with each component before starting the installation process. You can always check the assembly instructions from the manufacturer’s manual since the steps vary depending on the type of rack and design.
3. Position the Roof rack and Secure the Crossbars
Here, you separate the mount opening wide enough to fit the cross bars and insert them between the mounts carefully. Afterwards, measure the length from the inner foot mounts to determine the correct width before tightening the loose attachments into place. Ensure that the mounts are firmly in place to prevent movements when driving.
Consequently, it’s important to attach pads around the mounts and crossbar caps to prevent roof damage caused by roof racks when installing and stop water from settling on the high ends of the crossbar. Remember to stick to the manufacturer’s instructions while doing this.
4. Adjust and Attach the Roof rack
Adjust the rack for optimum functionality once you have positioned the roof rack and secured the crossbars firmly. So, check the tightness of the crossbars and make necessary adjustments if need be.
You will want to ensure that when the luggage is put on the roof rack, the weight is evenly spread and does not exceed the carrying capacity. This reduces the cases of load imbalance and reduces wind resistance while driving. Therefore, leveling the roof racks will go a long way in creating a perfect horizontal level to give practical solutions to the imbalance incidences and aerodynamics.

5. Check Stability
Testing the stability of the roof rack after installation is a crucial step that you should not skip. You can check the stability of the installed roof rack by gently pushing and pulling them backward and forth. Ensure the crossbars do not move or rattle. If they are loose, repeat the process to ensure they are well-aligned and firmly tightened on the flush rails. Similarly, you can take a short drive paying attention to unwanted vibrations and noises that may indicate improper installation. If everything is stable and firmly attached, your roof rack is ready to serve you optimally.

Conclusion
Roof racks have become increasingly popular car accessories for families and people looking for better options to exercise outdoor activities. While it may seem challenging to install your roof rack on the car, this article has simple steps to install it in less than an hour. Don’t let your outdoor vacation be boring because you lack some essentials caused to limited carrying or storage space in your car.