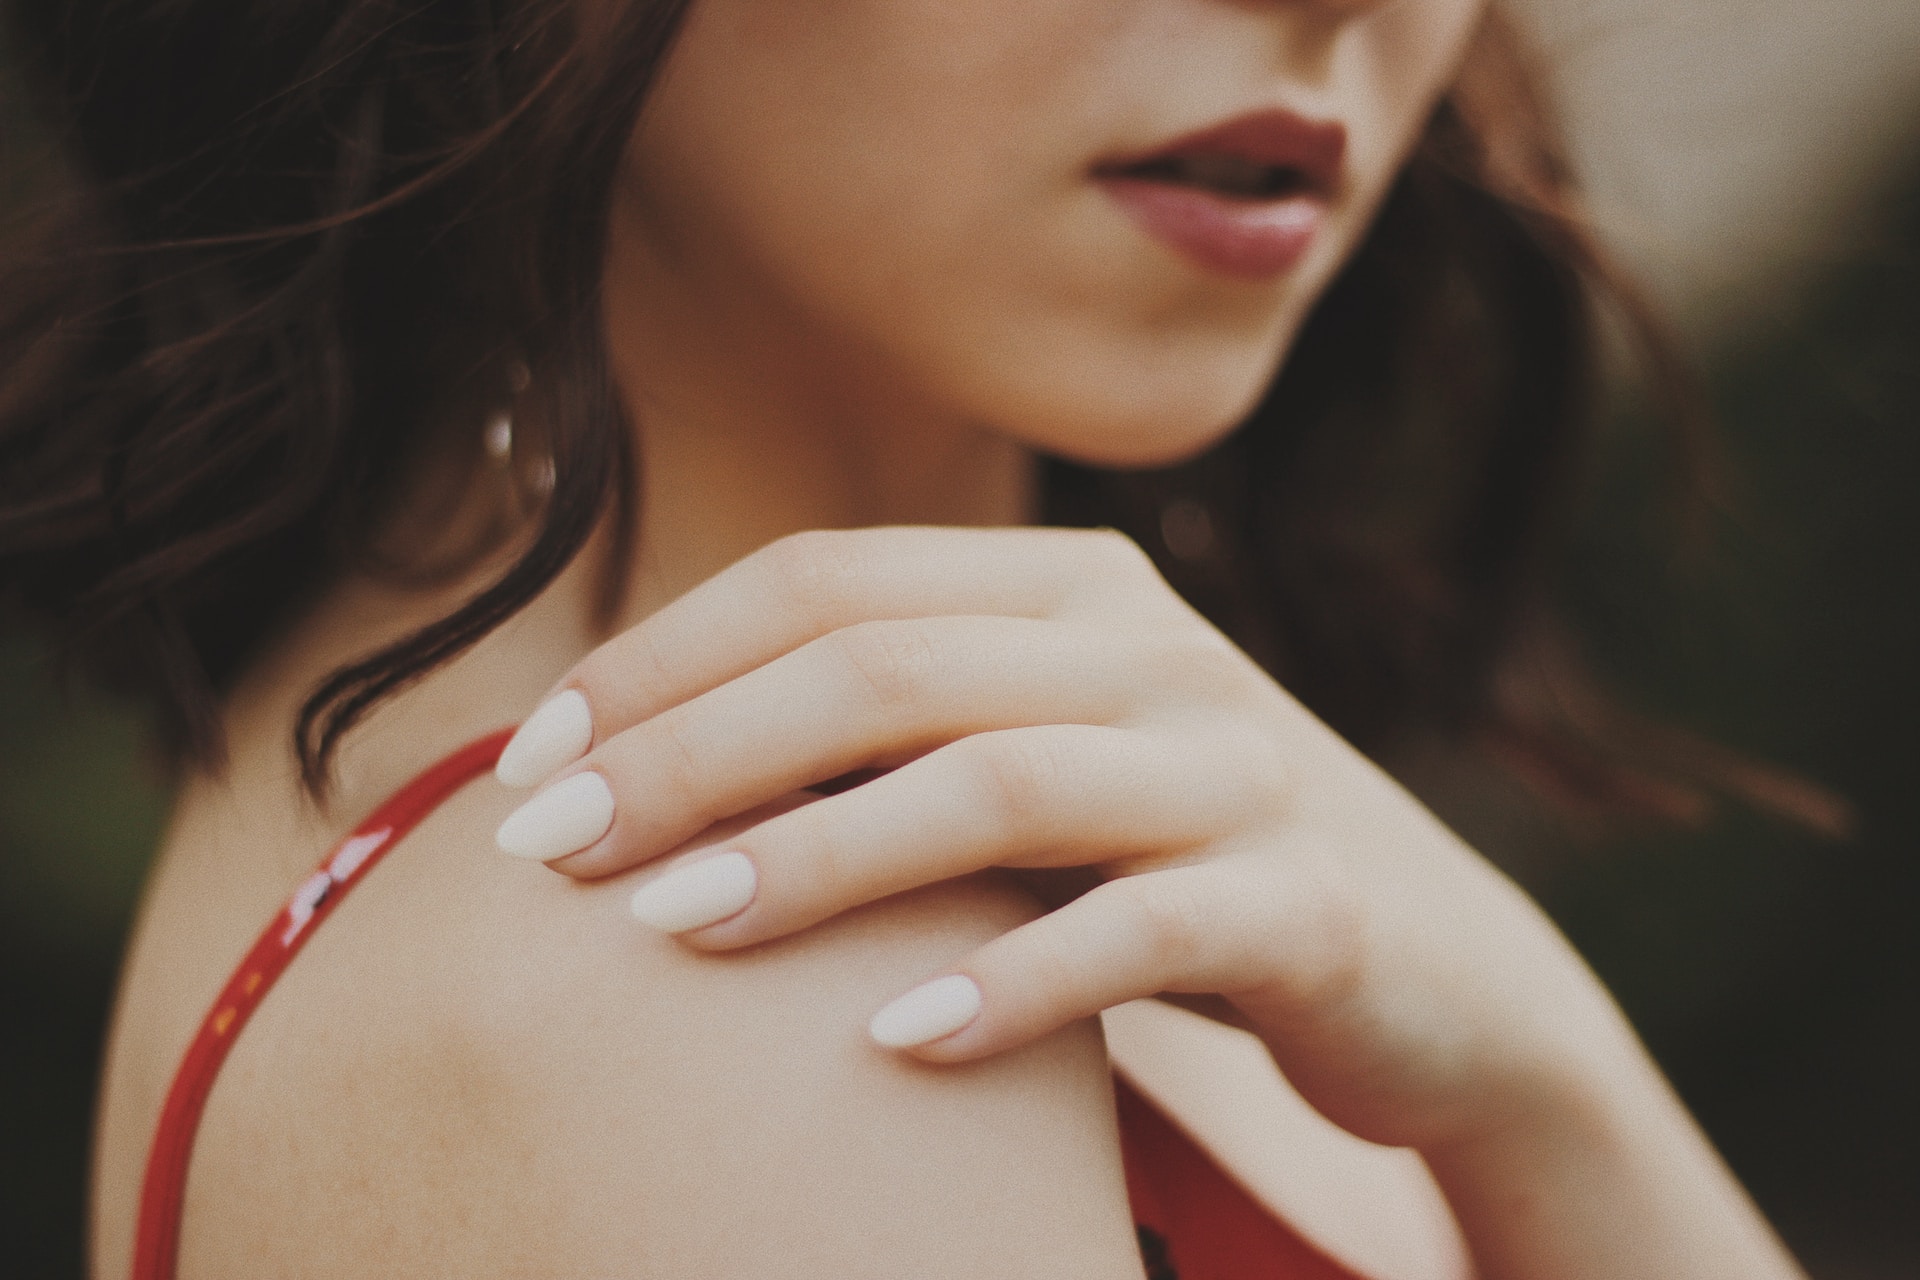
The sight of beautifully manicured fingers is one to behold. But your nails need some time to breathe and stay light and easy every few days. Not to mention, manicures start to chip and peel off after a few weeks, and the only way out is to remove them and free the nails.
In contrast to creating gel nails, which are usually best done by professionals, removing the manicure can be done at home. However, that does not mean aggressively peeling the color or ripping the extensions off. You can also cause breaks, splits, and bad spots on your natural nails by picking and scratching the polish. This kind of carelessness could severely damage your natural nails and leave them dull and damaged. Here’s how to safely remove gel nails at home.
1. Gather The Right Products And Tools
Gel nails or biab nails are indeed a superior choice for your nail extensions compared to acrylics. They help protect the nail and nail bed while providing competent strength, durability, and finish. Gel nail colors also offer a safe way to experiment with gorgeous colors and styles without harming the nails.
The key to removing gel nails at home is the have the right set of products and tools that can promise a quick and safe result. So here is the list of necessary items to gather for the steps ahead.
- Cuticle oil
- Hand cream or moisturizer
- Nail file
- Nail buff
- Nail cutter
- Acetone – (You can use regular nail polish remover, but it will take more effort and a very long time to work. Instead, choose pure acetone for quick and effective results)
- Cuticle Oil
- Cotton Balls
- Aluminum Foil – ( 3 inches long pieces, ten nos)
2. Cut And File Your Gel Nails
Start by cutting the extension part of the nail. It will be hard but remember not to trim it too close to your natural nails to avoid difficulties in removing the gel later.

It is time to file your nails and prepare them for removing the polish. Use a coarse nail file to eliminate the shine. Be careful while filing to ensure you protect your natural nails. The step will loosen the gel color for the acetone to work well.
3. Protect Skin Around The Nails
Removing the gel nail requires extended soaking in acetone. It could dry the skin around the nail and weaken the nail bed. So prepare the skin by applying cuticle oil and moisturizer before the soaking. The cream layer will create a barrier keeping the acetone from touching the skin, thus avoiding dehydration.
Repeat this step after removing the gel nail and frequently for the next 48 hours to keep the skin healthy and hydrated.
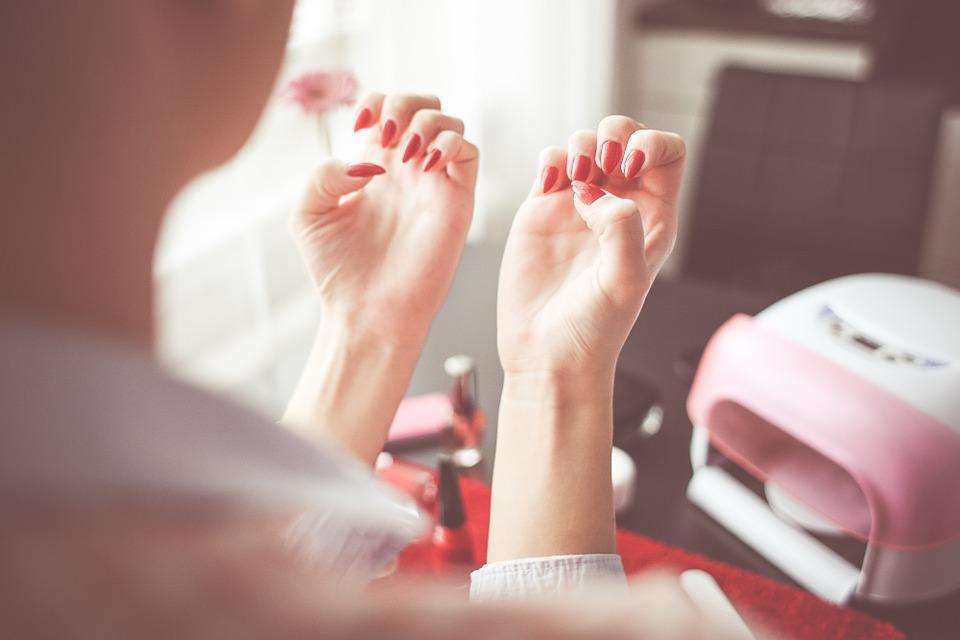
4. Soak It
There are two ways to perform the next step. The first method is directly dipping your nail in acetone. You can pour the acetone into a small dish and place your nails in it for about 15 minutes. You can speed up the process by floating the acetone dish in a bowl of warm water. The acetone will break the gel faster and remove it quickly.
The second method is to use a cotton ball dipped in acetone. For this process, place a cotton ball in the middle of an aluminum sheet and soak it in acetone. Place your nails gently on the cotton and wrap the foil around the fingers. Let the fingers soak for about 20 minutes.
5. Clean Up the Polish
Open the foil and remove the cotton ball. The layers of the gel nails should look lifted. Inspect how much of the gel nail started to wear off. Try to slowly rub off the polish with the cotton soaked in acetone. Now grab a cuticle pusher or stick and gently try to lift off the gel. If the gel still feels too hard, repeat the previous step and wrap the fingers for a couple of more minutes.
Do not peel or rip the gel as it could damage your natural nails. The repeated soaking should loosen the nails eventually to help with smooth removal. After all the nails are clear of gel, use the cuticle pusher one last time and let it dry.
6. Wash And Pamper
Wash your hands to remove any acetone residue and moisturize your skin. It is time to buffer the nails. Buff to get the natural look, and you will get the perfect finish. File the top layer to even out the texture.
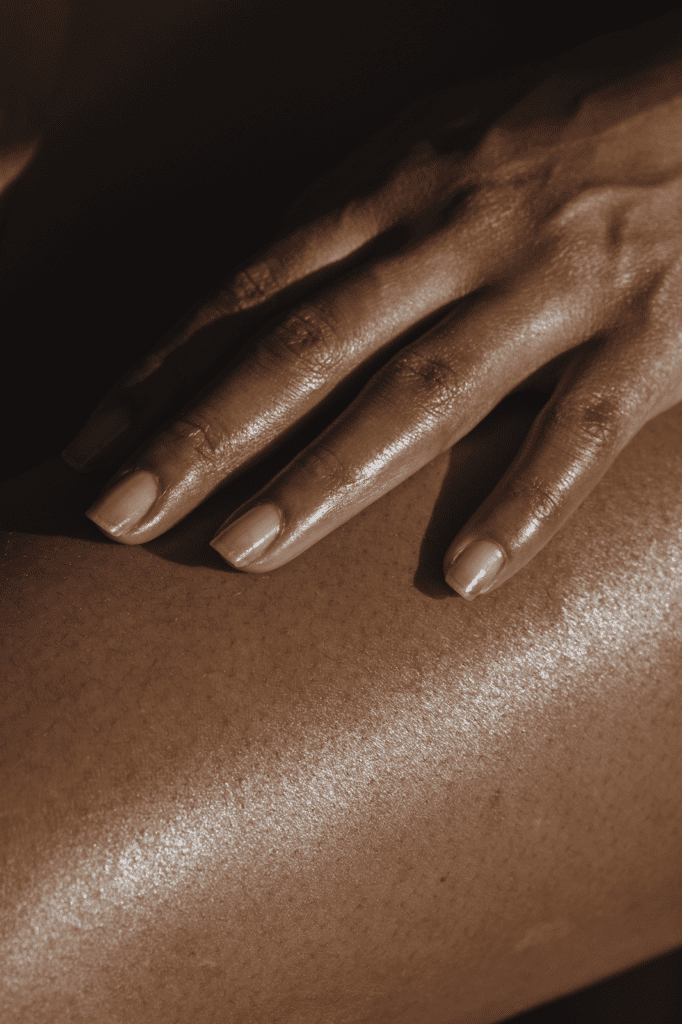
Apply cuticle oil and massage gently. Optionally apply a top coat to protect the nail, or you can let it free. Now massage your hands gently with moisturizer or hand cream. Your nails are now clean and ready!
Note:
1. Although nail artists believe acetone is the best choice for gel nail removal, there are several acetone-free options available in the market. You can explore these choices too to identify which works best for you.
2. Work on one nail at a time, and do not pull the extensions to remove them to avoid harming your nail bed.
3. Give your nails some time to heal between manicures. It helps them recover from any damage caused by extensions and stay healthy and strong.
Conclusion
Does a salon trip to remove your gel nails feel tiresome? Well, it is time to learn the best and safest steps to remove gel nails at home such that it retains the integrity and health of your natural nails. Try these simple steps and remember to choose quality products for the process for the best results.


2 thoughts on “6 Easy Steps to Safely Remove Gel Nails”